
🔍 Contents
- Starting the export
- Which entries are exported?
- Which fields are included?
- Opening the CSV file correctly in Excel
- Tips & best practices
- FAQ
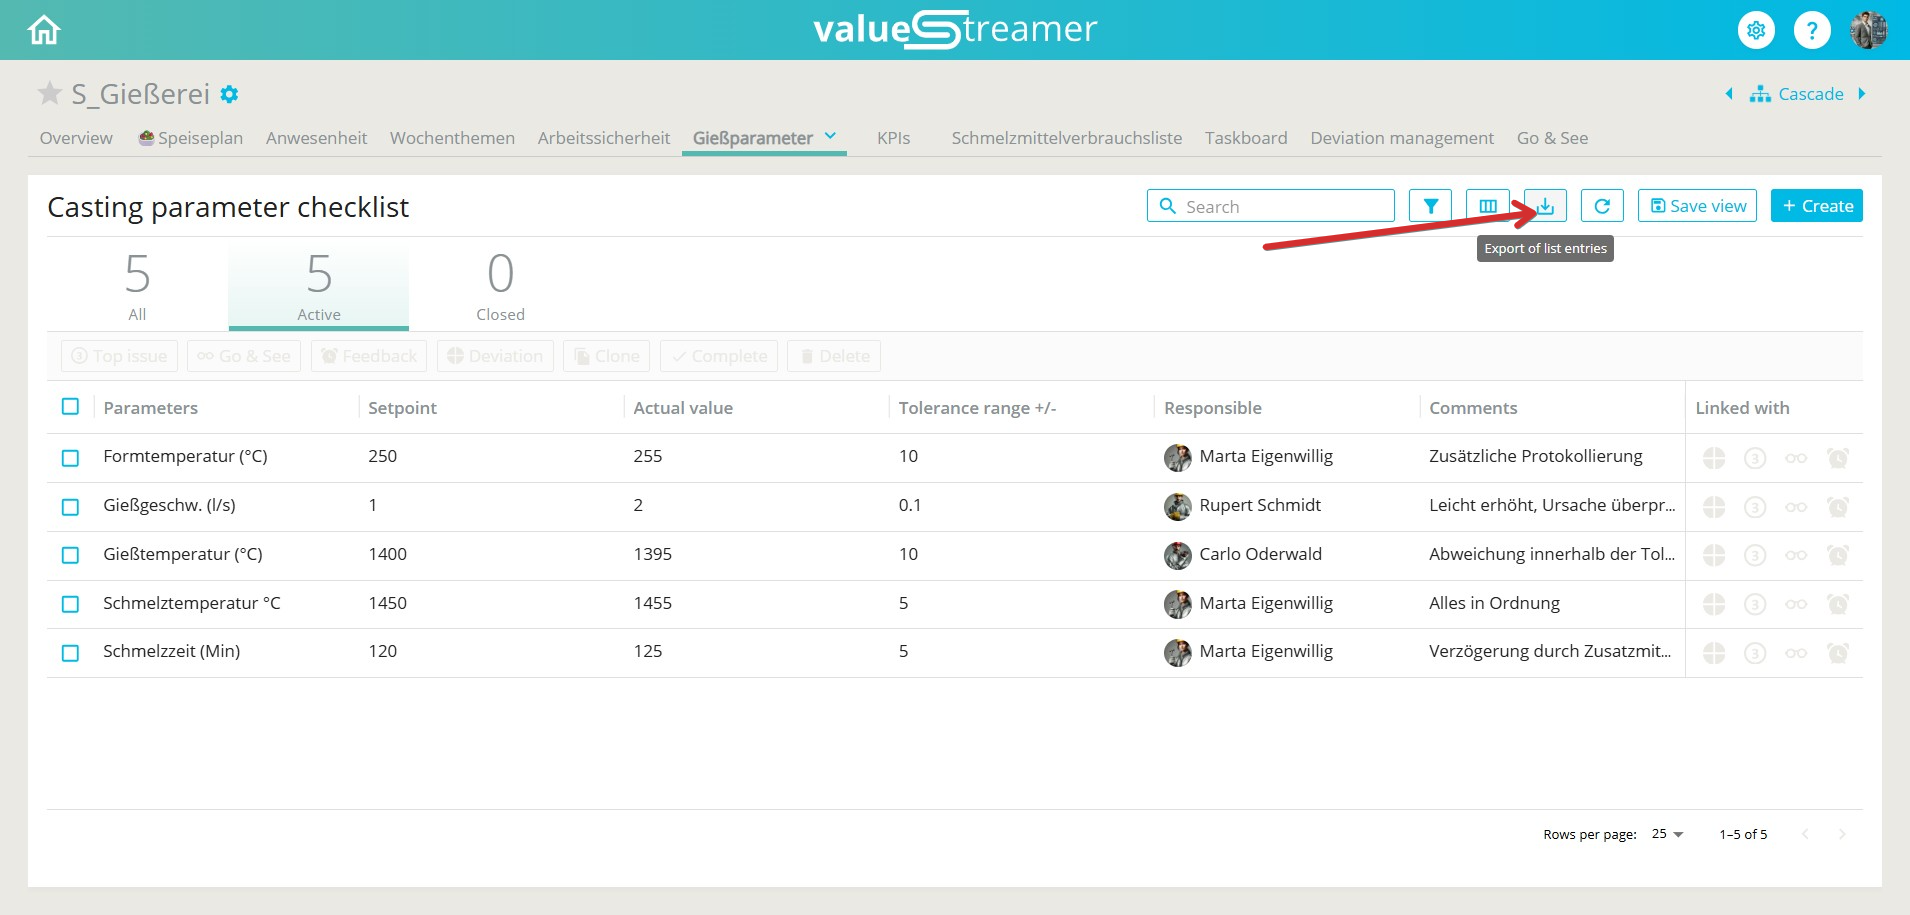
Starting the export
The export button is located in the header of the list view, between the Columns and Refresh buttons. It is always active.
Clicking it generates a CSV file. The file name follows this pattern:
<team name><list name><timestamp>
Which entries are exported?
What gets exported depends on what you have currently selected or filtered in the list:
| Situation | Result |
|---|---|
| No row selected | All entries of the active quick filter (e.g. Active, Overdue, Archived) |
| Search or filter active | Only the entries currently displayed |
| At least one row selected | Only the selected entries |
💡 This lets you control the scope of the export directly from the view: simply filter or select beforehand.
Which fields are included?
The export contains all field types defined in the list template. This also applies to fields that are hidden in the list view.
⚠️ Important: The status history is not part of the export. Only the fields defined in the list editor are included.
Opening the CSV file correctly in Excel
The exported file is a CSV file using a comma as the separator. Excel in a German-language environment expects a semicolon by default. If you open the file by double-clicking it, all values will therefore appear in a single column.
Either of the following two options will split the file into proper columns.
Option 1: During import (recommended)
- Open Excel
- Go to Data → From Text/CSV
- Select the CSV file
- Choose Comma as the delimiter
- Click Load
Option 2: Splitting an already opened file
- Select column A
- Go to Data → Text to Columns
- Choose Delimited
- Tick Comma as the delimiter
- Click Finish
The data will then be displayed correctly in separate columns again.
✨ Tips & best practices
- 🎯 Define the scope beforehand: Use filters, the search function or row selection to export only the entries you actually need.
- 📁 Save as an Excel file: If you continue working with the file, save it as .xlsx after importing. This preserves formatting and formulas.
- 🔁 Recurring exports: If you use the export regularly, option 1 via Data → From Text/CSV is the faster choice, as Excel saves the settings for the query.
- 🔐 Mind the permissions: Whether you are allowed to export a list depends on your user role. You can find the details in the article Who is allowed to export lists?
- 🛡️ Data protection: Exports contain personal data such as the responsible persons. Please treat the files confidentially.
❓ FAQ
Where do I find the export button?
In the header of the list view, between the Columns and Refresh buttons.
Why does everything appear in a single column after opening the file?
The file is comma-separated, while Excel in a German-language environment expects a semicolon. Use the import via Data → From Text/CSV or the Text to Columns function as described above.
Why is the status history no longer included in the export?
The export only covers the field types defined in the list template. The status history is not one of them.
Are hidden columns exported as well?
Yes. All fields defined in the list template are exported, even if they are hidden in the view.
Can I export only certain entries?
Yes. Select the rows you need before exporting, and only those will be included. Alternatively, you can filter the view beforehand.
Why can't I see the export button?
You are probably missing the required permission. Check whether you are assigned to the relevant team and take a look at the article Who is allowed to export lists?
What is the exported file called?
The file name is made up of the team name, the list name and a timestamp.